Getting started with GEMINI Command Line Interface (CLI)
Google recently released the Gemini CLI, a powerful command-line tool designed to enhance developers’ workflows using AI. Whether you are working across large-scale codebases, automating tedious tasks, or generating new applications from sketches and PDFs, Gemini Cli gives multimodal intelligence to your terminal.
Using the Gemini CLI you can:
- Query and edit large code bases – even exceeding the standard 1M token context window.
- Generate applications from visual inputs such as PDF or design sketches.
- Automated operational workflows – from handling pull requests to managing rebases.
- Connect external tools and MCP servers, including Imagen, VEO and Lyria media generation.
- Directly within your terminal, use Google Search as a grounding tool.
In this tutorial, we will walk you through how to install, configure and start using the Gemini CLI to enhance your day-to-day developer tasks.
Install node JS
First, you need to install node.js on your system:
- Go to nodejs.org and download the latest LTS version.
- Run the installer.
- Use the default settings and complete the installation.
Install and use the CLI
To install the Gemini CLI, run the following command:
npm install -g @google/gemini-cliAfter installation, you can initialize it by simply running the following code in the terminal
On your first run, you will be prompted:
- Select a color theme For CLI interface.
- Certification Use your personal Google Account – This allows access to Gemini with spacious usage restrictions: 60 requests per minute and 1,000 requests per day.
You are now ready to start using the Gemini CLI to enhance your development workflow!
If you need access to a specific Gemini model or want higher usage restrictions, you can use your own API key.
- Generate keys from Google AI Studio.
- Set it as an environment variable in the terminal by running:
export GEMINI_API_KEY="YOUR_API_KEY"Replace your_api_key with the actual key you generated. This allows the Gemini CLI to authenticate using a key instead of your personal Google account.
Query GitHub repurchase with Gemini
Once everything is configured, we will use github repo for testing
Run the following command to clone the Marktechpost GitHub repo with multiple AI tutorials
git clone
cd AI-Notebooks
After entering the AI-Notebooks folder, run the following command to run CLI
This will launch CLI
Summary of different tutorials in the repository
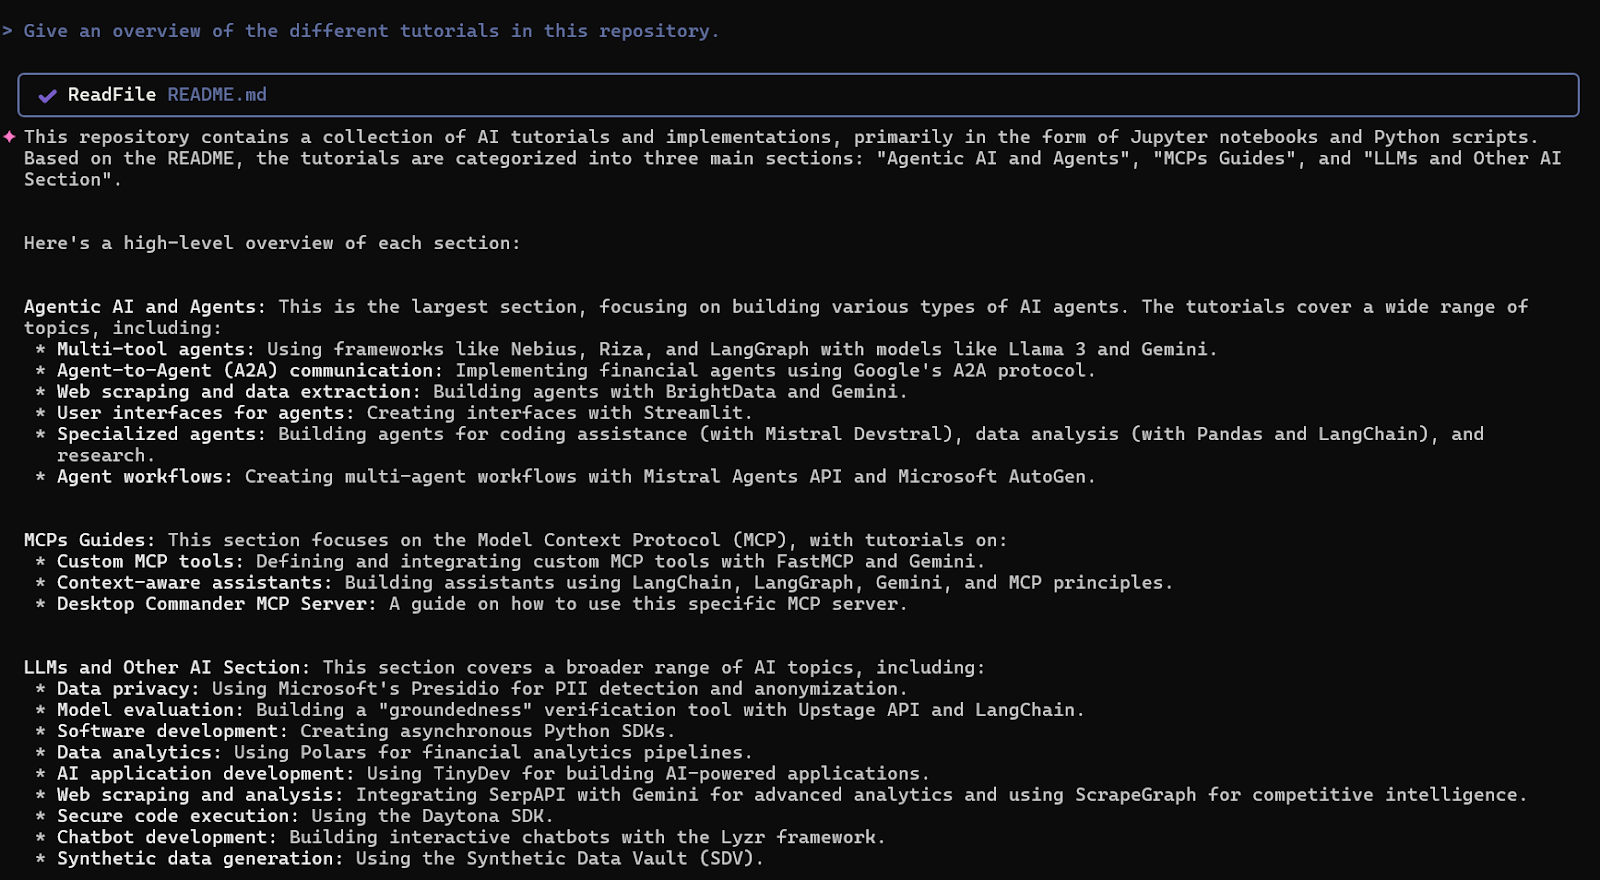
First, let’s try a simple tip:
Give an overview of the different tutorials in this repositoryThe Gemini CLI will read the readme.md file (fix it with details about the tutorial) and generate a concise summary based on that information.
Explain different files in subfolders
To refer to a specific directory or file in your prompt, use @ Symbols are followed by folder or file name. Gemini CLI also supports autocomplete so when you enter @it will automatically present available files and folders.
Let’s test it with the following tips:
@A2A_Simple_Agent briefly explain the different files in this folder and how they work together to implement the A2A agent. Focus only on the .py files and the README.md file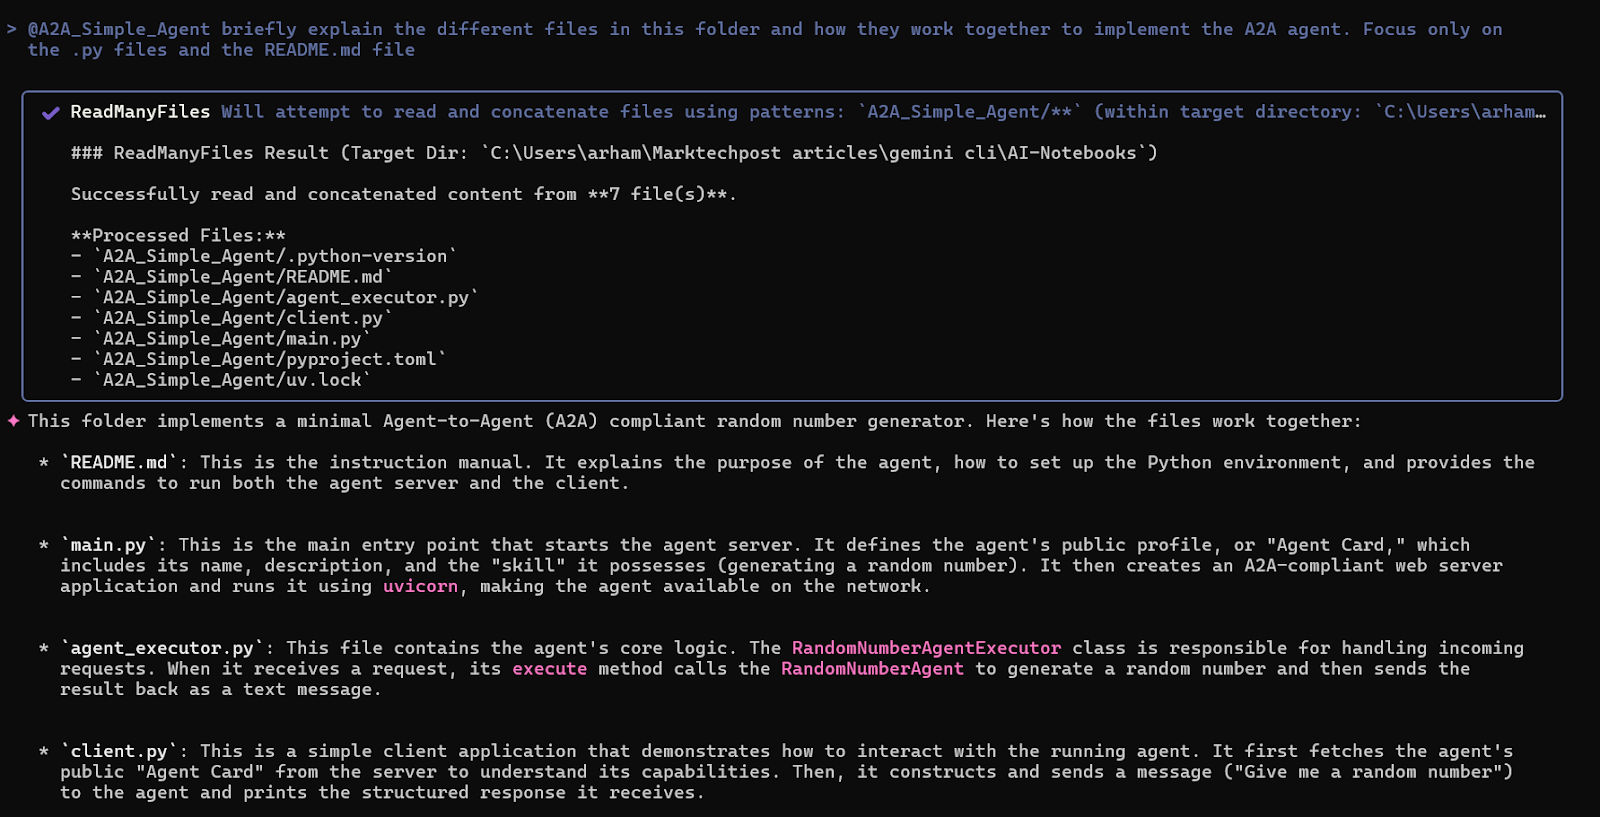
Execute git command
The Gemini CLI can also execute shell commands directly from your prompts.
How many git commits have been made so farWhen running such a command, Gemini will:
- Get your permission before execution.
- Run shell commands safely.
- Automatically get and display the results.

Update memory
We can also use /memory Order
/memory add This Git repository contains multiple self-contained tutorial projects demonstrating how to use the Gemini CLI and build agent-based systems. Each folder (e.g., A2A_Simple_Agent) focuses on a specific concept like agent communication, tool use, or integration patterns. When asked, summarize or build on individual tutorials while keeping their scope isolated.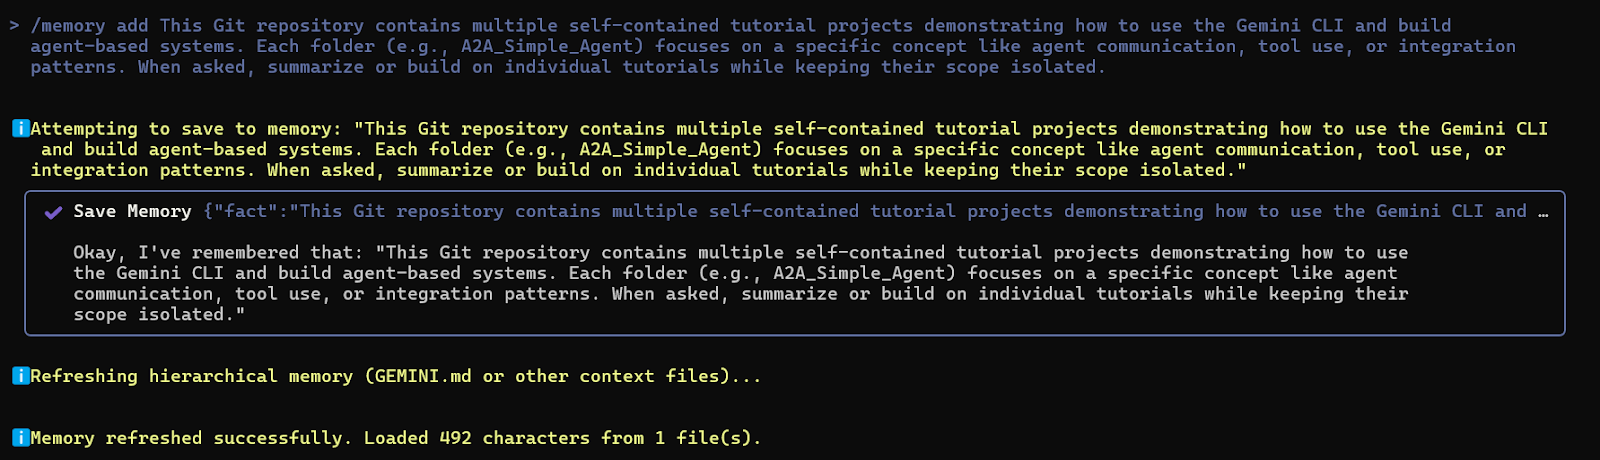
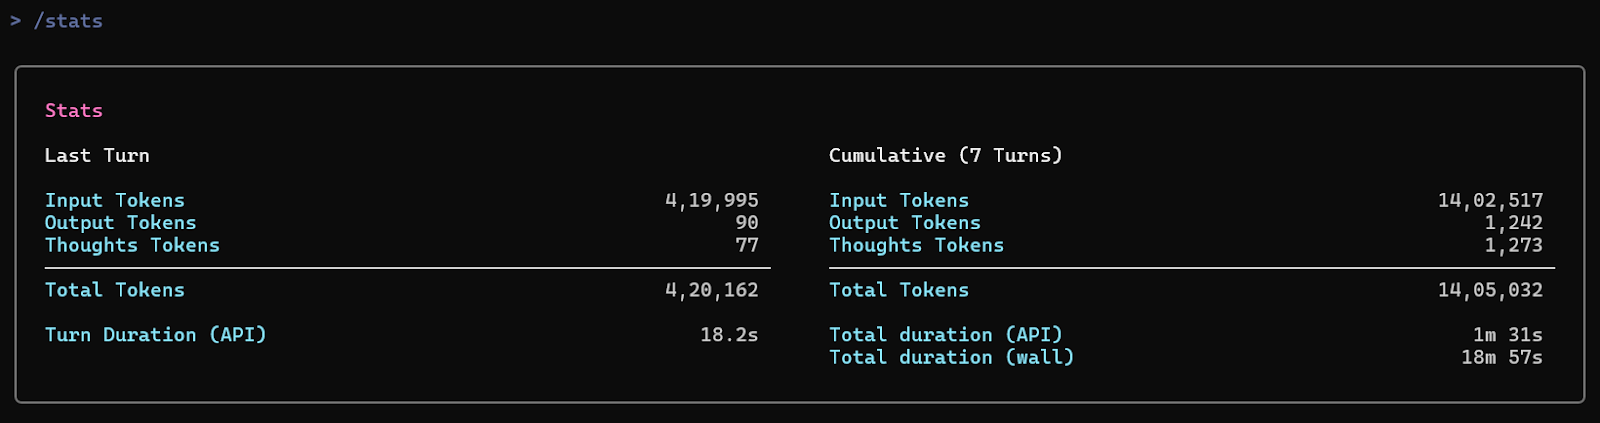
Check statistics
this /statistics Commands in the Gemini CLI provide a detailed summary of your current session. It shows key metrics such as total token usage, cache tokens (if available), and savings for the entire session duration. This is useful for tracking your usage efficiency and understanding how to use models in your workflow.
Exit the session
You can use it at any time /Resign Order. After exiting, the CLI will display a session summary – including the total token used, the session duration, and a breakdown of the input and output tokens.
Further reading
To explore the full range of commands, check out the Gemini CLI Command Guide. There are many powerful commands that make the Gemini CLI a versatile tool for developers. In this tutorial, we only scratch the surface to give you a basic overview of its core functions. For more details and updates, visit the official Gemini Cli GitHub repository.

I am a civil engineering graduate in Islamic Islam in Jamia Milia New Delhi (2022) and I am very interested in data science, especially neural networks and their applications in various fields.


: metrics for quantifying memory utilization in sequence models for performance optimization")